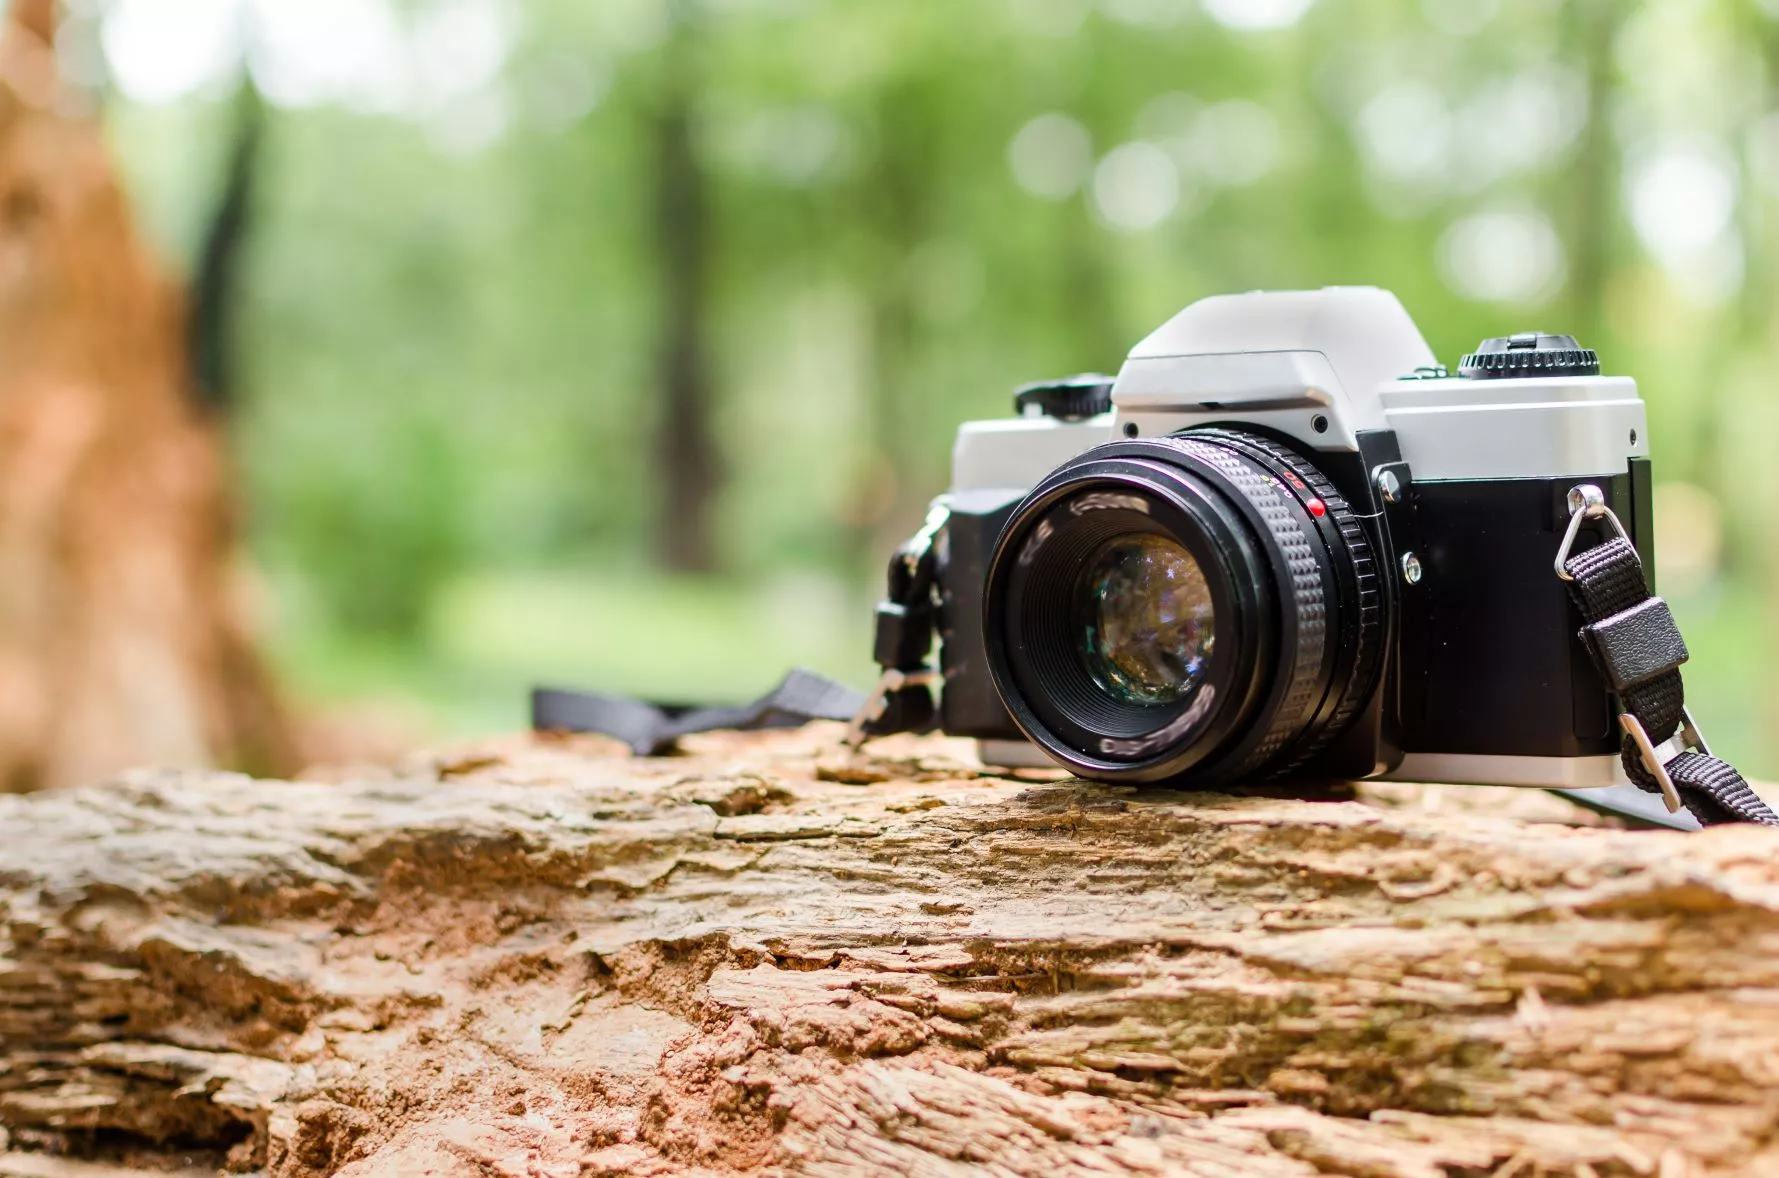
Understanding the Main Digital Camera Modes
When you first buy a DSLR, you might feel overwhelmed by the number of camera settings you have at your fingertips. Understanding the different digital camera modes is the first step toward proper photography. This is why in this article, we will go over camera setups, shooting modes, ISO, and aperture, and give you a few tips on how to get used to your DSLR.
The 4 Main Types of Digital Camera Modes
Most semi-professional, entry-level DSRL cameras have a rotating camera mode dial on the top-right handle. Some more professional cameras might only feature a tiny “Mode” button. But let’s assume you bought a Canon 50D or a Nikon D5000 DSLR. These are probably the best entry-level semi-professional cameras you can buy at the moment.
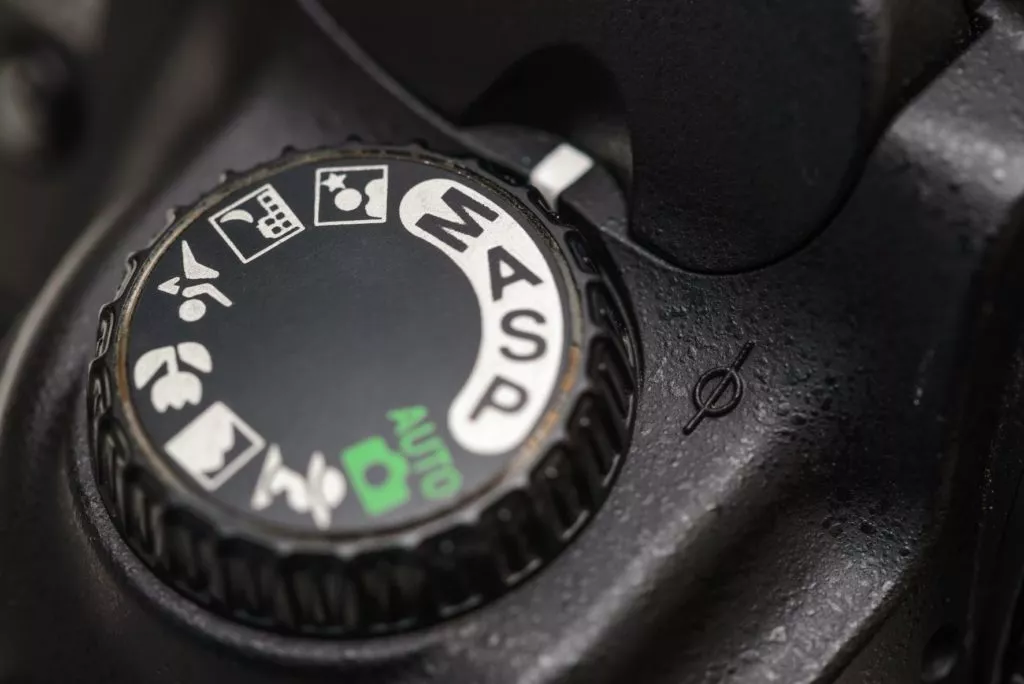
Ok, back to the camera modes. As we were saying, there are 4 types of camera modes.
1. Program Mode (P)
The “P” on the rotating dial at the top right of your camera stands for “Program” mode. This is a semi-manual camera mode. It adjusts your exposure automatically but leaves you some freedom in playing with the camera.
We recommend you switch to the P mode after you get used to the camera in the Auto mode.
The Program mode sets the right aperture and shutter speed for you. However, it gives you free control over other aspects and settings.
First, you can decide if you want to use the flash or not. Secondly, you can use the exposure compensation to override your camera’s automatic settings. You will find this small button on the top right side of the camera. It has a +/- sign on it. It basically lets you brighten or darken your images.
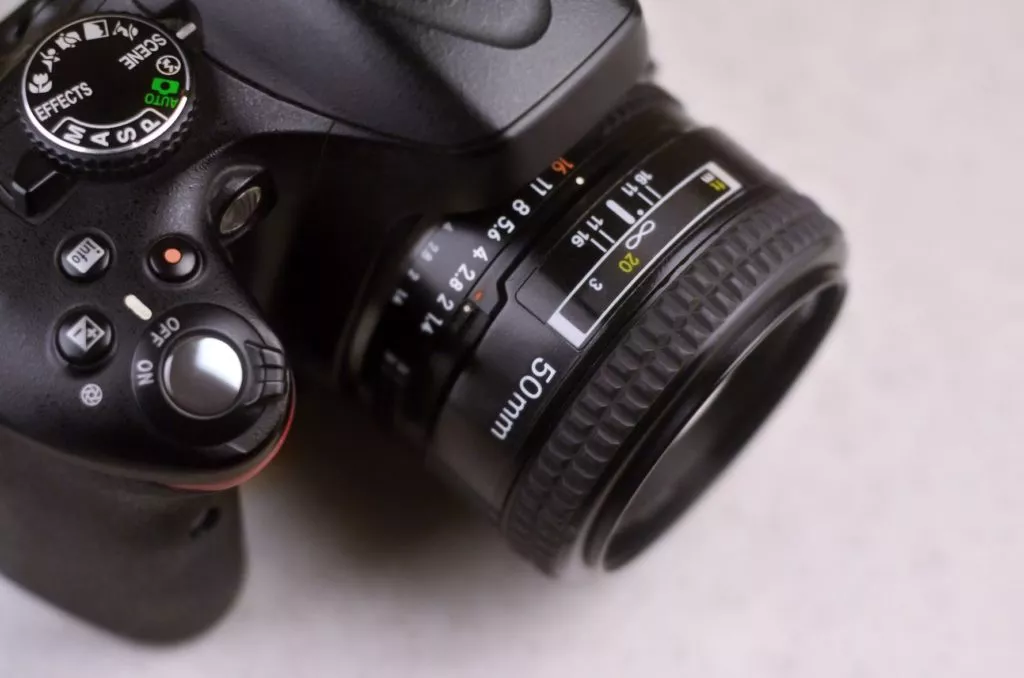
Thirdly, in Program mode, you can also use the ISO button to prevent noise or the digital grain on images.
The fourth thing you can do in Program Mode is set the White Balance.
So, set your camera to “P” and play with these settings. It’s the first step towards Manual mode.
2. Shutter Priority (S or Tv)
This is another semi-manual mode that we recommend for shooting moving subjects. This mode allows you to adjust the shutter speed while the camera chooses the aperture for you, ensuring correct exposure.
So, compared to full Manual mode, you only have to adjust the shutter speed. The camera will take care of the aperture.
How do you use this mode? You turn the digital camera dial to “S” for most Nikon, Fuji, Sony, and Olympus cameras. If you have a Canon, it’s called “Tv”.
Next, you need to set the shutter speed. Some Nikon cameras have a rotating dial on the right side of the camera, that you can reach with your thumb. For other cameras, you might need to use their menu and look for shutter speed.
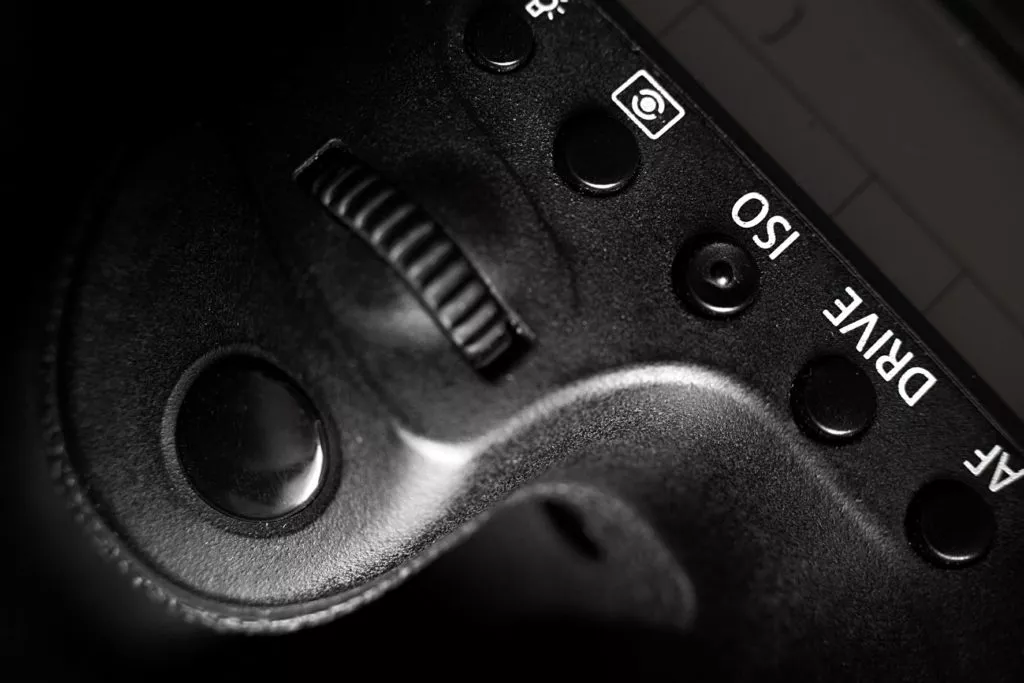
The shutter speed is basically the amount of time the shutter is open. The values look like this: 1 s, ½ s , 1/250 s etc. A fast shutter speed means less time exposure to light. Fast shutter speeds freeze motion, while slow shutter speeds allow for a certain motion blur effect to appear, suggesting the subject is moving rapidly. You’ve got to tinker with it yourself to understand what we’re talking about.
3. Aperture Priority Digital Camera Mode (A or Av)
The aperture priority digital camera allows you to control the aperture, while the shutter speed is adjusted automatically by the camera.
If you understand aperture, ISO and shutter speed, then you are ready to use the aperture priority mode, too.
We recommend you use aperture priority for landscape photography, as it allows for a larger depth of field. Moreover, you can use the A mode for portrait photography. A wide aperture of f/1.4 or f/2.8 can throw the background out of focus to emphasize the subject portrait.
4. The Auto and Manual (M) Digital Camera Modes
Well, this category is pretty obvious. In Manual mode, you have control over everything. The camera does not adjust anything automatically. So, you might want to try this mode after you’ve mastered the other 3 we’ve already mentioned.
The Auto mode is the one to start with; that goes without saying. But you might be wondering – Is it worth purchasing a DSLR if it’s only used in auto mode? I mean, the smartphone cameras can do pretty impressive things these days. What could you do with a DSRL on auto mode? Let’s have a look!
Can you take great photos by leaving your camera on “Auto”?
You can take great photos in Auto Mode, that’s without a doubt. However, the Auto mode is not the place to settle. You start with it, and then you transition towards the semi-automatic modes we’ve mentioned above. The final destination is Manual Mode.
However, if you are at the very beginning, don’t be sad. We’ll show you a few great tricks and tips on how to take gorgeous photos on Auto.
If you take another look at the camera mode dial, you will also notice a few more modes. Those are all automatic modes: action, portrait, night portrait, landscape, macro etc. You can play with them if you want. However, you can do amazing things just by leaving your DSRL on auto mode.
1. Take portraits with bokeh
Bokeh is the blurred, out of focus background effect that you get even with smartphone cameras in portrait mode.
Your DSLR might do even better than that. All you have to do is zoom your lens in all the way on the subject until the background is blurred. You might want to try different angles depending on the light.

Related read: Light in photography and how to control it
2. Nature photography during golden hour
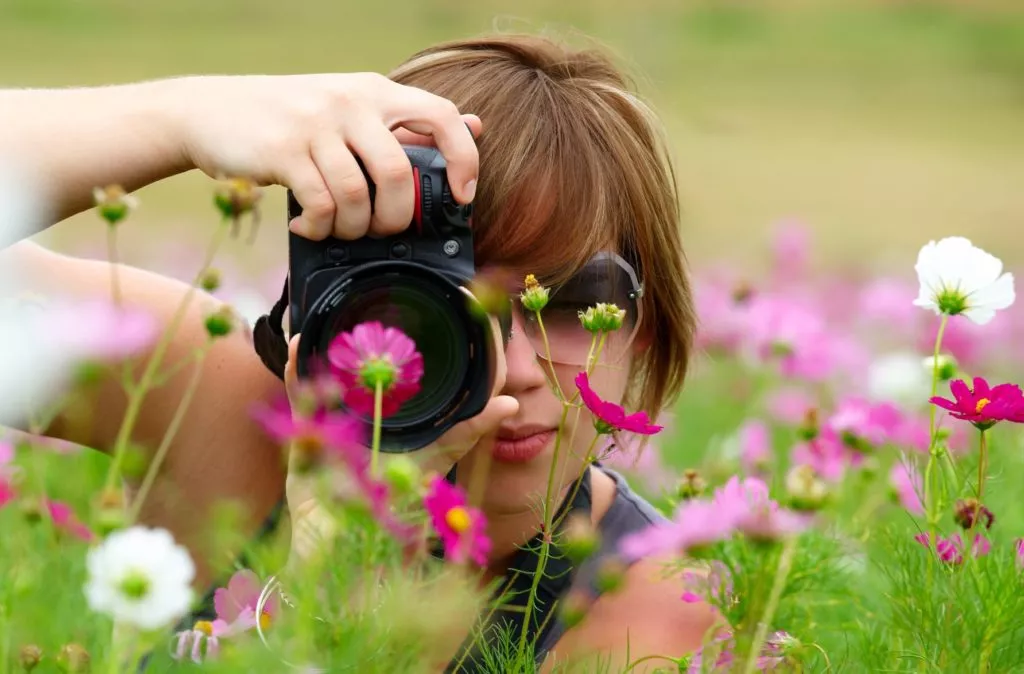
Go out in the morning or in the evening, take a walk in the park and start photographing flowers and nature. It will give you the confidence to try more advanced camera settings, you’ll see.
3. Photograph motion objects or people
With the perfect type of light, you can even freeze a motion. Try it a couple of times with people on bikes or jogging. At some point, you will feel confident to try the semi-auto camera modes.
4. Silhouette photos
By this point, you should be able to understand light and how to position yourself or your subject according to it. So, try to take a few silhouette photos on purpose. To do this, you need to make sure that the background is very bright.
5. Food photography
This is another comfortable type of photography you should start with. Make sure you have plenty of light, and that it comes from behind the food. Once you learn to master light, you can start playing with the other semi-manual digital camera modes.
You’ll see, you’ll get hooked easily. All you need is a little persistence and passion at the beginning.
Next is learning to use Lightroom, but that’s for another article and another day. Until then, be creative and experiment as much as possible!
